How to create your Kyvib
From sign-up to a published page, step by step with pictures of the editor. Prefer video? Watch the mini course.
Get started
Create your account and your first Kyvib in a few minutes.
Go to the sign-up page and fill in name, email and password. Then select Create account.
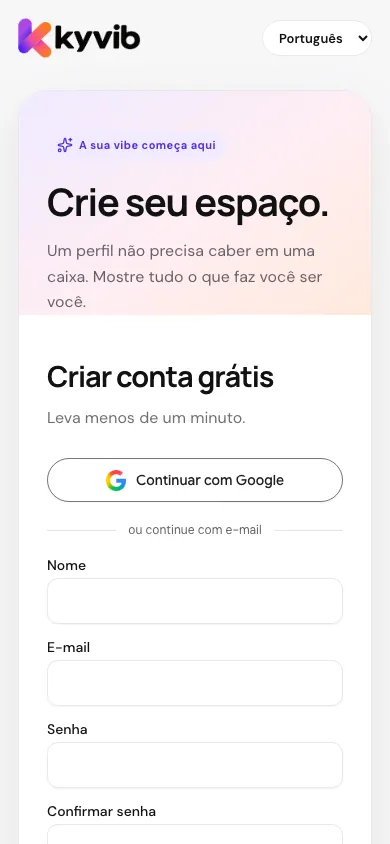
Choose a starting point: My links, My work, My business or Start from scratch. Select Continue, then choose your Kyvib's name and address.
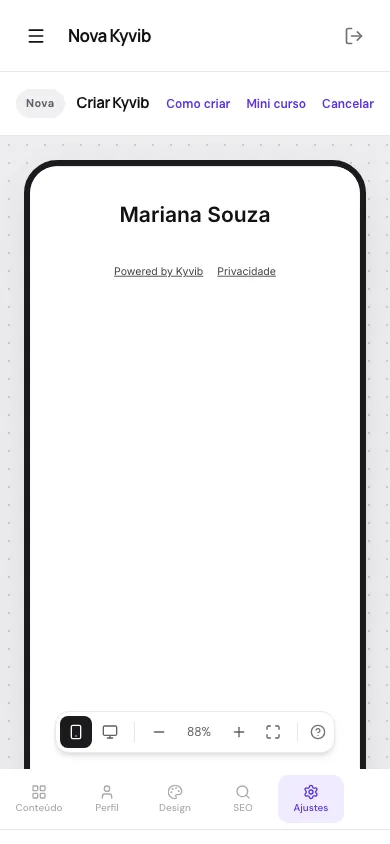
Select Create my Kyvib to open your draft in the editor. You can also go straight to the editor or skip setup: a temporary name and address let you start without filling in the fields. Nothing is published automatically.
Build the page in the editor
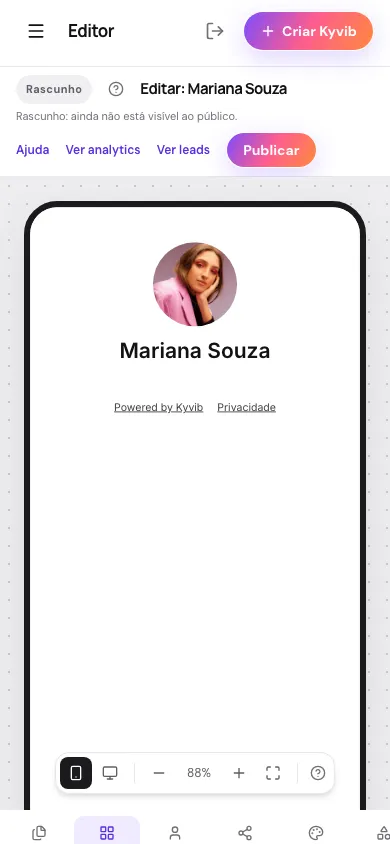
The editor has the tabs Pages, Content, Profile, Social and button, Design, Assets, SEO and Settings. The preview next to it shows the page as it will look.
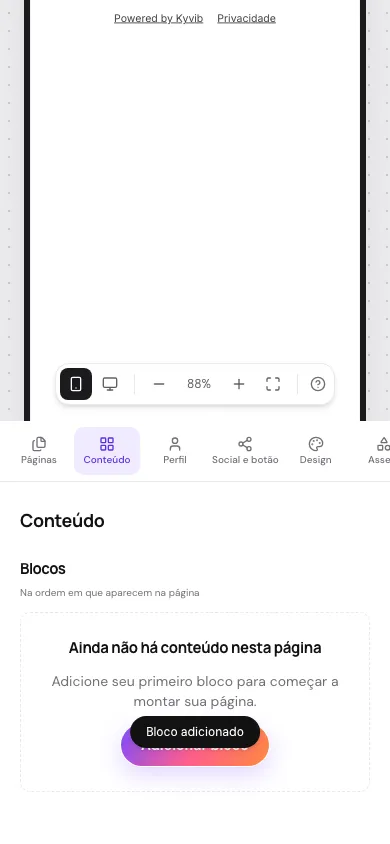
The Content tab holds the page's blocks: links, texts, images, videos and more. A new page starts empty.
Select Add block and choose the type.
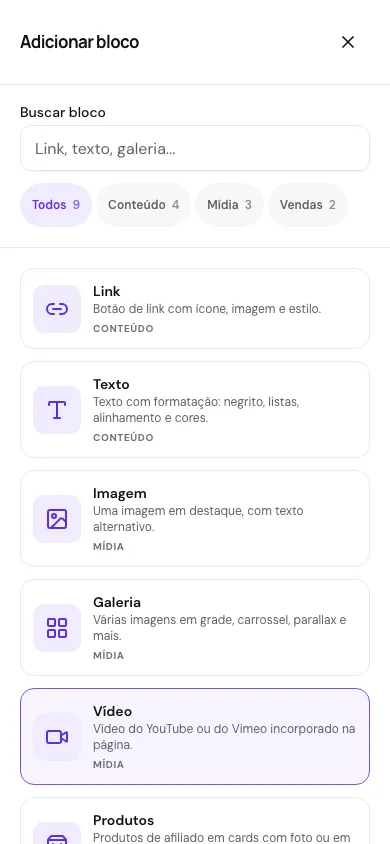
Fill in the block and select Save block. It shows up in the preview, in the order you arrange them.
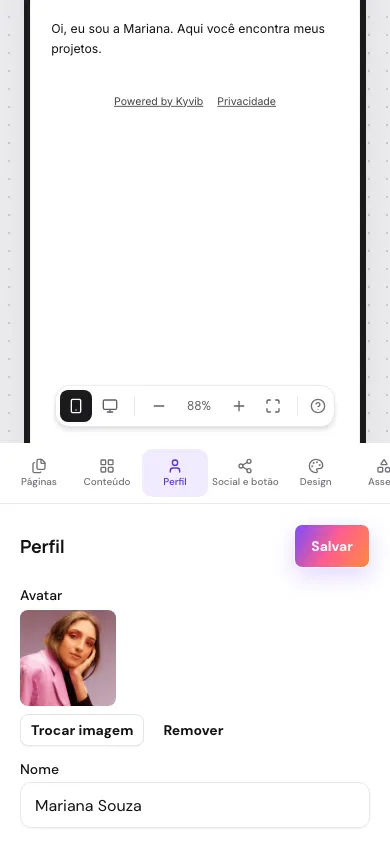
In the Profile tab, add your profile photo, bio and whatever else you want to show at the top of the page.
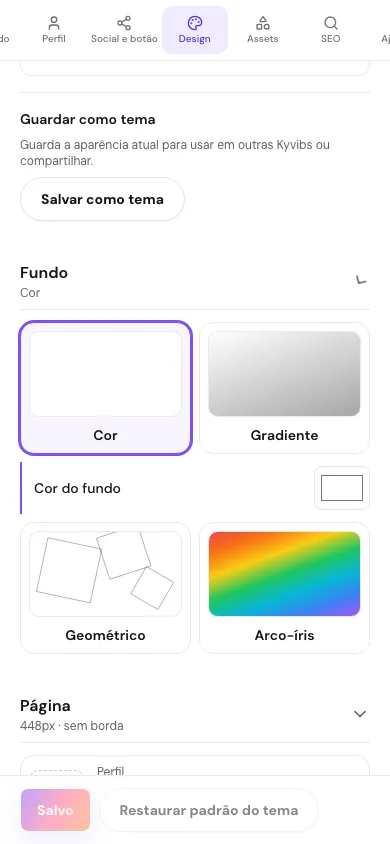
In the Design tab, pick a theme and adjust the options. The theme changes colors, fonts and style, and does not delete your content.
Publish and share
Your Kyvib is only public after you publish it.
Select Publish in the top bar. The badge changes from Draft to Published.
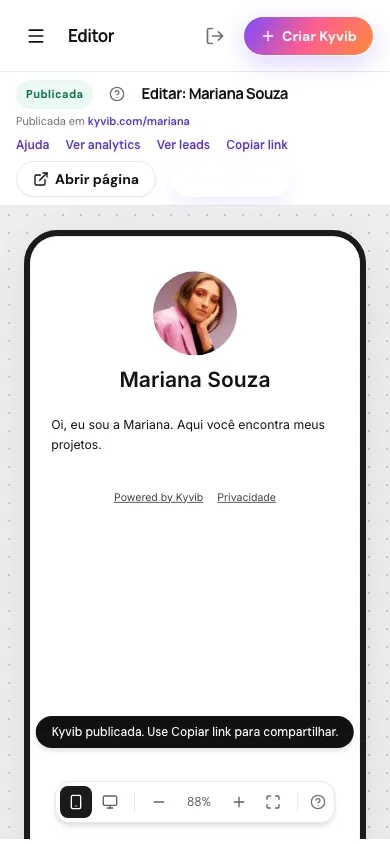
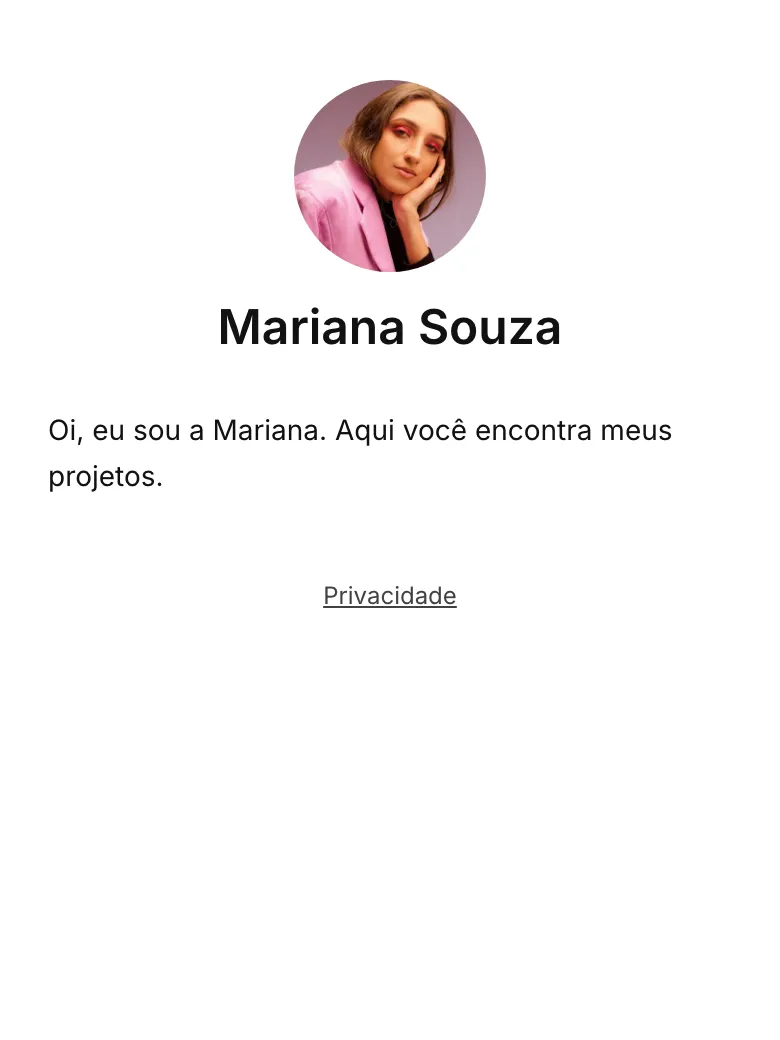
Use Copy link and share the public address. To take it offline, select Unpublish in the editor toolbar.
Go further
Once your first page is live, explore the rest.
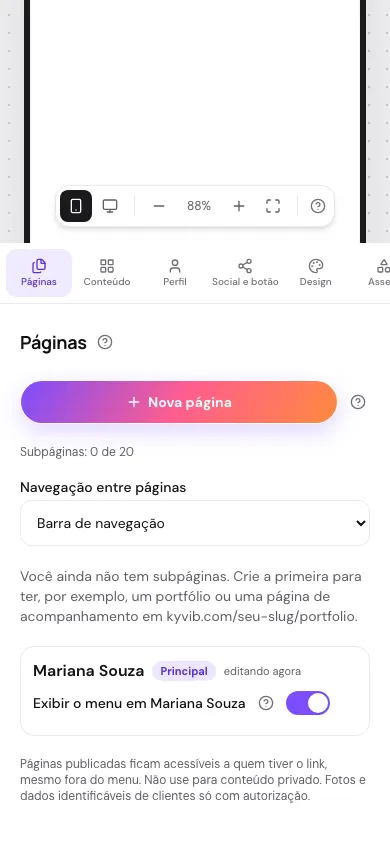
Subpages: in the Pages tab, create pages like kyvib.com/your-slug/portfolio. By default they follow the main page's theme.
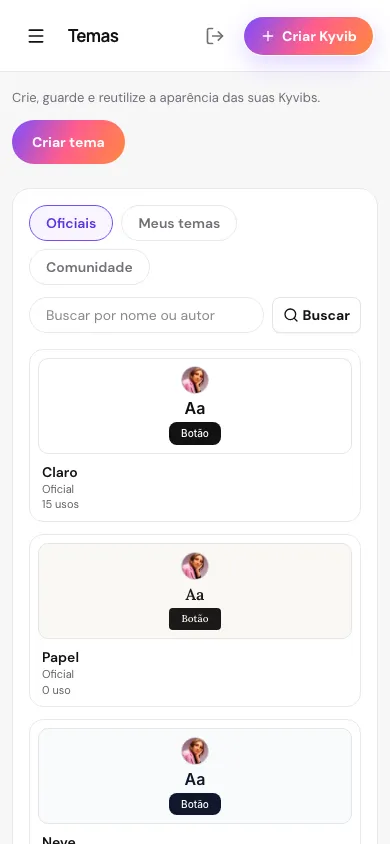
Themes: in Themes you apply a ready-made theme or create your own to use across several Kyvibs.
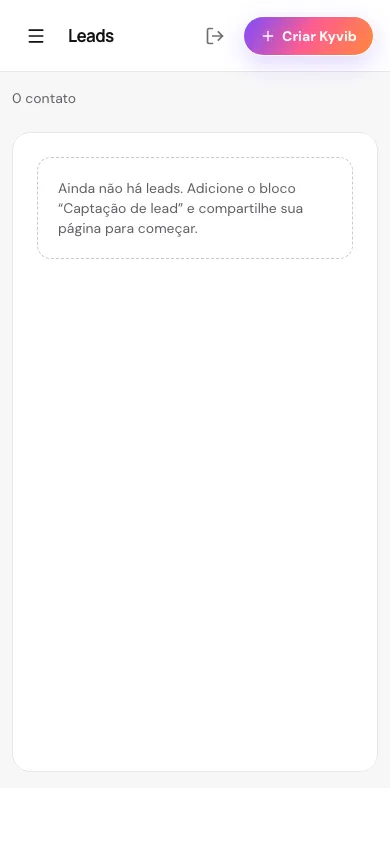
Leads: add the Lead capture block and follow the contacts in Leads, with the visitor's consent.
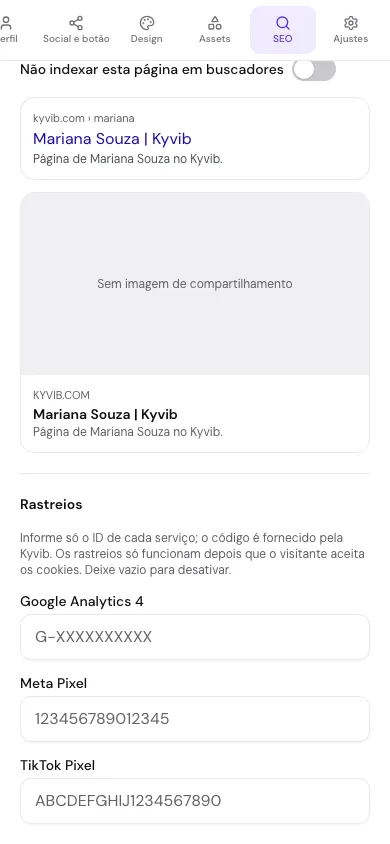
Tracking: in the SEO tab, enter your Google Analytics, Meta or TikTok ID. They only load after the visitor consents.